
3 Common Food Photography Mistakes to Avoid When Using Your Phone
Whether you're snapping a photo of your brunch or creating content for a restaurant, getting a good photo of food on your phone can be a trickier than you might think. As a photographer who works closely with restaurants, managed social media for multiple restaurants, and creates food content, I’ve seen firsthand how these three mistakes can take a great shot down to just an “okay” shot. Here are three of the most common issues I’ve seen over the years, and how to fix them fast (and easy).
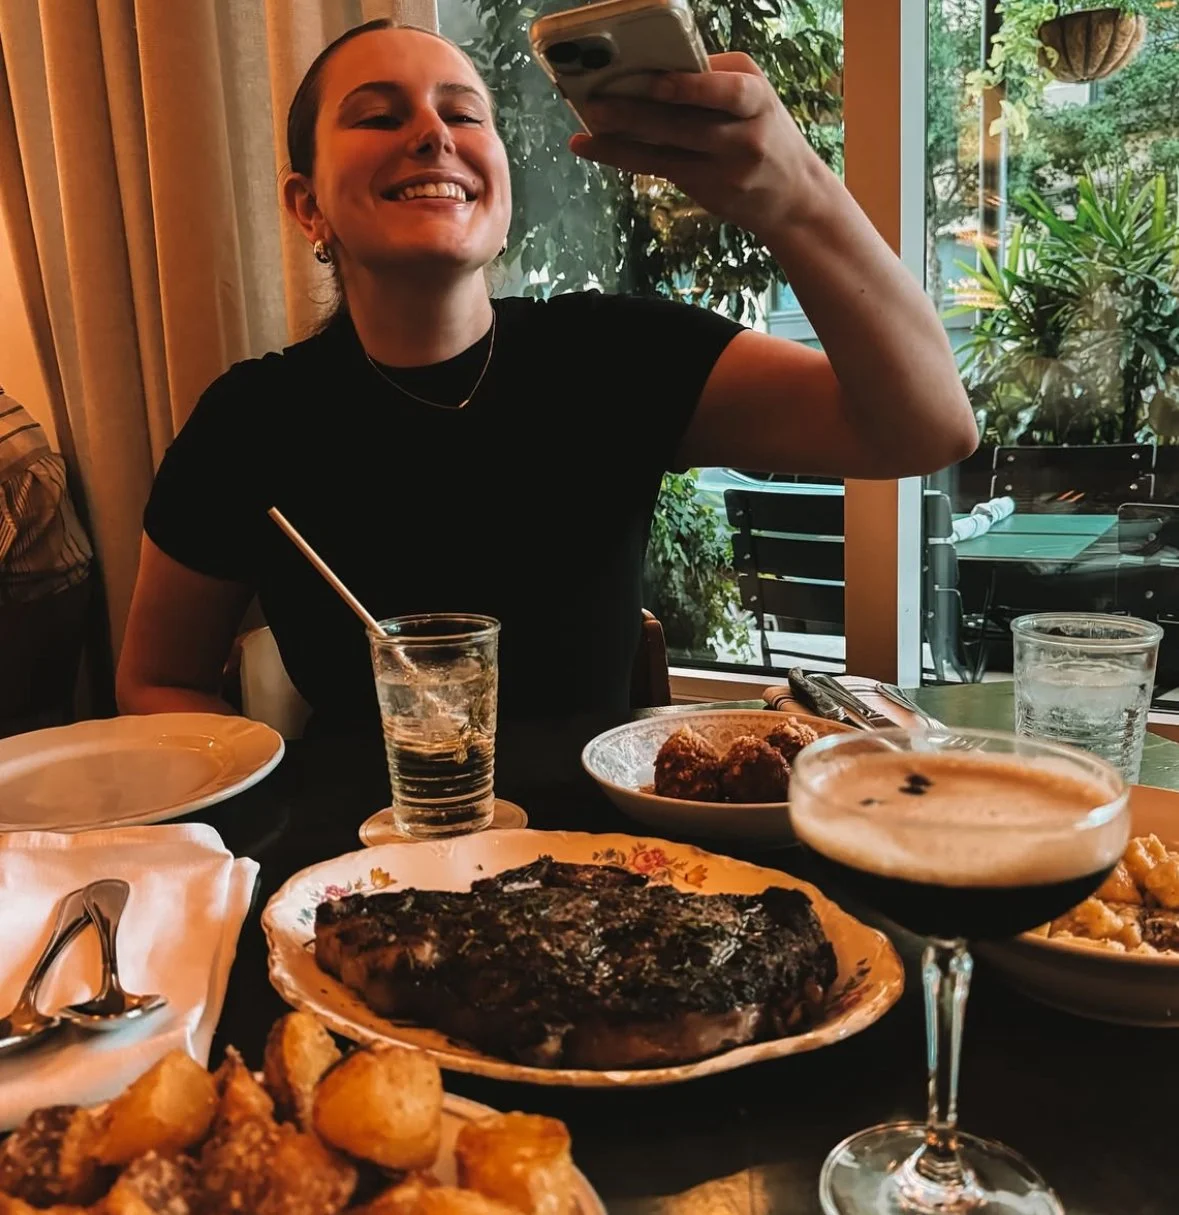

1. Using Portrait Mode for Food
I know, I know - a lot of people think portrait mode is amazing. Me? I’m a portrait mode hater. But hear me out: I’m a hater because of the experiences and analytics I’ve seen in the industry. While portrait mode might sound like the right move for a close-up, it’s often more of a problem than a solution (especially for food). During my time managing social media for restaurants, food photos taken in portrait mode consistently underperform compared to those taken normally.
The artificial blur effect can look over-processed and can distract from what you want to showcase, especially around edges like utensils, garnishes, or textured ingredients. It can also flatten the subject and remove the depth and crispness that make food look appetizing.
Stick to the standard camera mode and rely on natural lighting and good composition instead. You'll get a sharper, more detailed shot, and it’ll be more likely to get attention on social media.
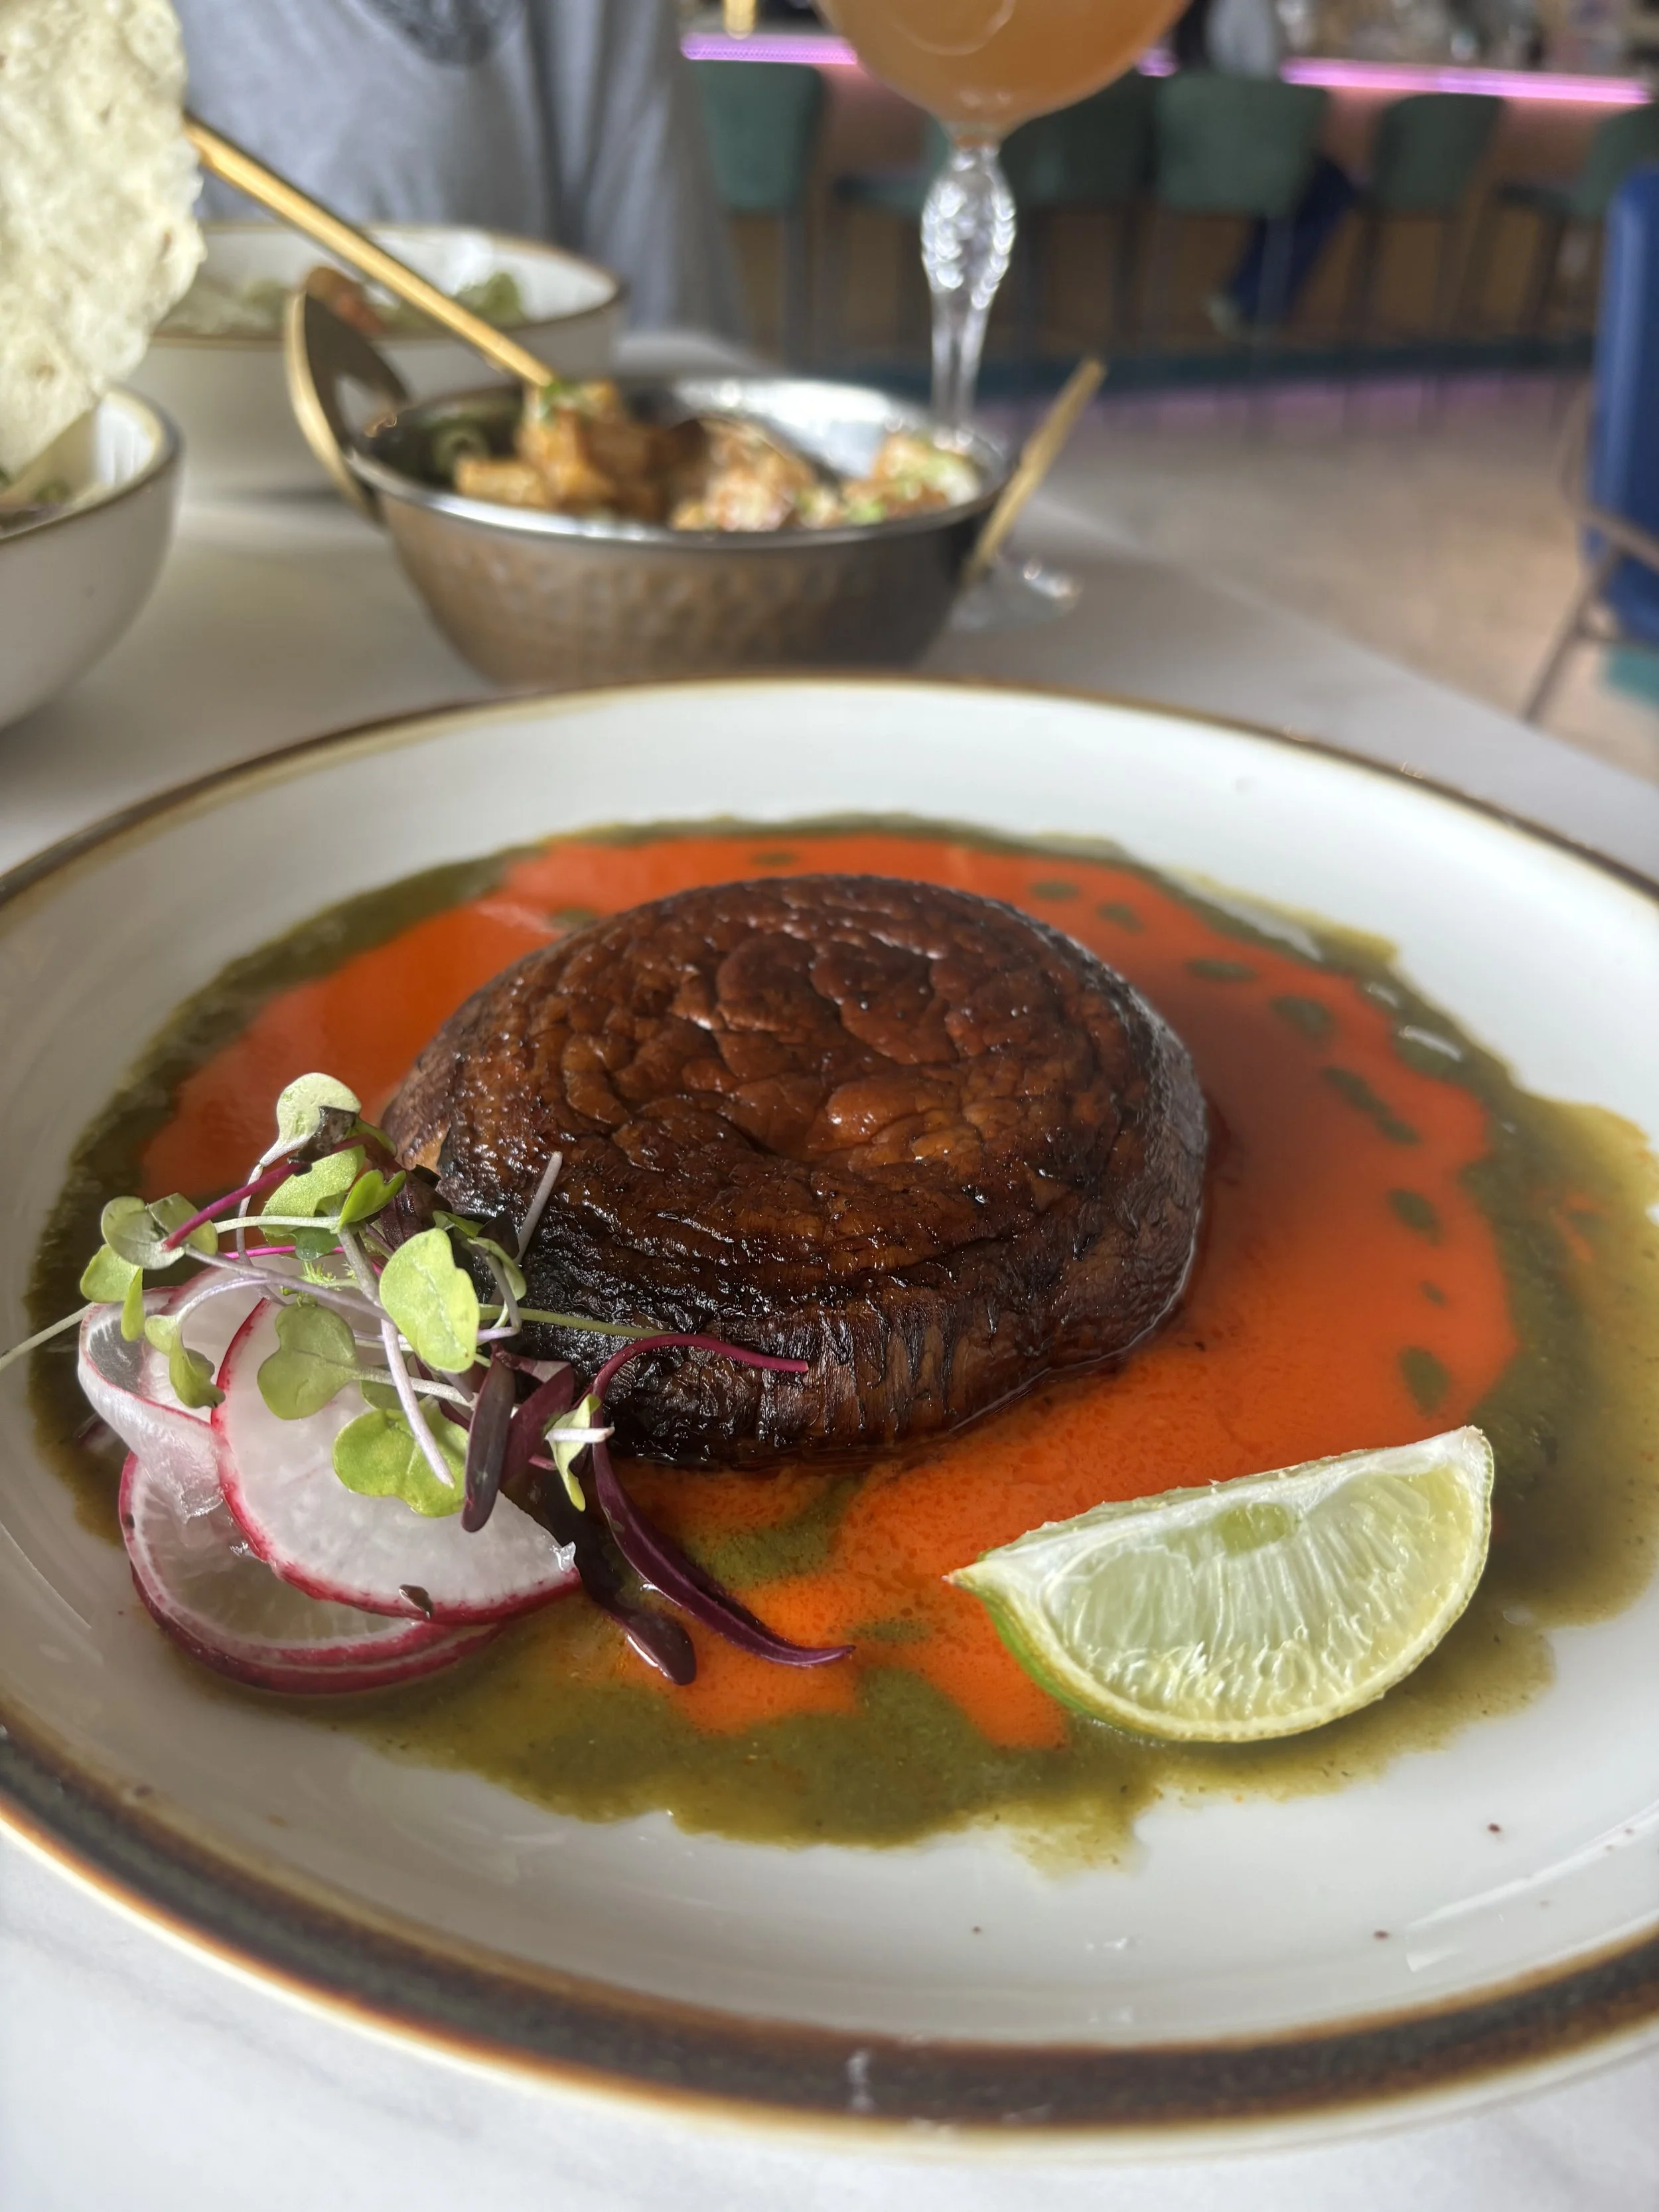
2. Facing Away from the Window
Lighting is everything when you take photos of food, and natural light (i.e. from a window or outside in the shade) is the best tool to taking a standout photo. The worst way to underutilize natural light is to take your photo facing the window. This creates uneven lighting in your photo, an overexposed background, and shadows that overwhelm the dish.
The solution is easy: sit with your back angled to the window. You may be thinking, won’t I block the light? ✨no✨ (at least not really, but it’s an easy adjustment that’s well worth it)
This direction gives the food more natural, even lighting and brings out details that would otherwise be lost. Just be careful not to block the window with your body; this is an easy fix by angling yourself or shifting slightly to the side.
(I’ve included a visual example below to show the difference side by side.)
Facing the Window:
Why it’s a problem:
The lighting is uneven: it’s brighter in the background than the actual food is; this can be distracting
The details of the dish aren’t noticeable and covered in shadows

Back to the Window:
Why it’s a solution:
The lighting is even throughout the image
You can see the textures and colors of the dish fully, giving it a more appealing and appetizing appearance
3. Forgetting to Clean Your Camera Lens
You might be thinking “no sh*t.”. But I’m telling you, this is so common that I have to add it to the list. Think about where your phone usually lives: in your pocket, purse, waistband, or face-down on a table. It’s easy for fingerprints and smudges to get on lens without you even realizing it.
If you’ve ever seen a slightly blurry or hazy food photo, it’s almost always because the lens wasn’t wiped down first. Before you take the photo, give the camera lens a quick wipe with a soft cloth or the hem of your shirt. It takes two seconds and will make your photo look instantly sharper.